For many Canadians, becoming a homeowner is an important life goal and a major financial accomplishment. If you’ve been lucky enough to get into the market, however, there’s much to learn once you move into your new digs. Fortunately, there’s an army of professionals, from plumbers to electricians to landscapers, who can assist with anything that goes wrong. Unfortunately, these skilled tradespeople often charge a premium for their services. That’s why many homeowners choose to go the DIY route when things break. Fixing things yourself doesn’t just save you money – it can also be an invaluable way to get to know your home and stay on top of maintenance.
Here are five jobs that most people should be able to tackle:
1. Replace a bathroom vent fan 2. Hang a shelf 3. Patch drywall 4. Re-caulk your tub or shower 5. Fix a running toilet
1. Replace a bathroom vent fan
Older houses typically come with outdated and dirty vent fans in the bathroom, which tend to be noisier than modern ones. More importantly, an old, dust-clogged fan isn’t doing a great job at pulling moist air out of your bathroom, which can lead to mould and other serious issues. Most new bathroom fans come with easy-to-follow instructions and can be installed with a few tools and minimal know-how. Just make sure to turn off the breaker for the fan before you get to work.
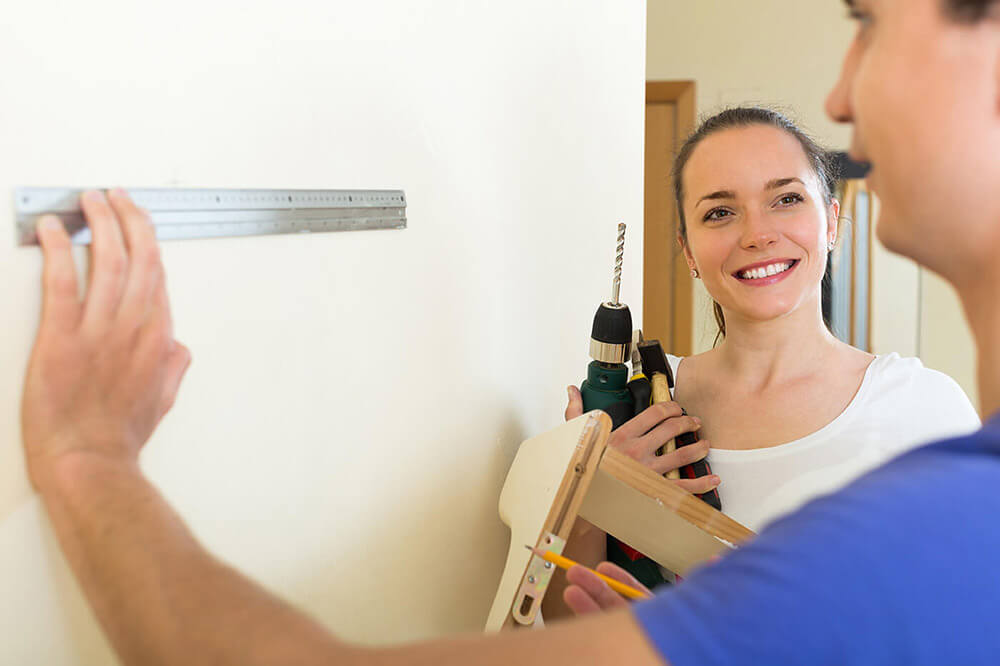
2. Hang a shelf
If there’s one skill every homeowner should have, it’s how to hang a shelf properly. The most important thing to remember is to fix your shelf to at least one stud – the vertical strips of wood behind the drywall of most walls, usually spaced 16 inches apart. Find the stud using a stud-finding tool (available at any hardware store), then pencil in where your first bracket will go, aiming for stud-centre. Next, level your shelf with a spirit level (an essential tool every homeowner should have) before adding the second bracket. If your second bracket isn’t over a stud, be sure to use drywall anchors to secure it. And if you mess up, drywall is easy to patch (see below).
3. Patch drywall
Whether you’re covering up evidence of the previous owner’s art collection or fixing the results of your kids’ game of indoor hockey, you’re likely to need to fix drywall sooner or later. The bigger the hole, the more complicated the fix, but for small things like screw holes, it couldn’t be simpler. Simply apply some spackle to the offending hole (or any one of the purpose-made hole fillers at your local hardware store), scrape off the excess and wait for it to dry. Sand the patch down gently with some medium-grit sandpaper, and voila! A dab of paint and your wall will be good as new.
4. Re-caulk your tub or shower
Having your bathroom caulk in good condition is essential for preventing water damage, and will also brighten up the look of your bathroom. To begin, use a sharp utility knife or a caulk removing tool to strip off the old caulk, then use a clean rag and rubbing alcohol to get rid of any remaining bits. Once the area is clean and dry, tape it off using painter’s tape, with a 3/8" gap where the new caulk will go. Apply your caulk as smoothly and evenly as you can, then run your finger along the bead to press it into the seam and create a concave surface. Remove the tape carefully and smooth any edges it may have left behind. After letting it dry for 24 hours, your tub will be good as new. If not, just strip off the caulk and start again.
5. Fix a running toilet
An always-running toilet isn’t just an annoyance, it will also drive up your utility bills. In most cases, however, the fix is as simple as replacing a single damaged part: the flapper valve. Replacement valves are available at any hardware store, and installing one takes minutes. Simply turn off the water supply using the valve by the floor, flush the toilet to empty the tank, and remove the existing flapper by working it free of the two pegs connected to the overflow valve (the big vertical tube). After disconnecting the chain leading to the flusher and setting the old valve aside, carefully wipe off the seal previously covered by the old flapper to remove any residue. Then set the new one in place by connecting it to the overflow valve and the chain.
Jeremy Freed is a freelance writer and editor based in Toronto. His writing about fashion, travel, food and design appears in Sharp, Harry and re:Porter magazines, among many others.